How to use Printbox?

Printbox kiosk is a self-service device, which means that the entire service is performed by the user. Using it is simple, fast and safe. The user interface on a Printbox kiosk is operated via a touchscreen. When using a Printbox kiosk for the first time, follow the procedure below:

Printbox 4 steps

Login and registration

You can use Printbox kiosk as a registered or unregistered user.

If you want to print without login, choose the option “unregistered users” and start printing. There are numerous advantages for registered users compared to unregistered users. Check the comparison table.

Without a user accountWith a user account
Single price for colour and black-and-white printing
Getting a lower price per page by making a higher prepayment
Colour scanning
High-quality 80 g paper from ECO plantations
Uploading files via USB flash drive
Uploading files from Printbox library
Uploading files via website
Uploading files via email
Storing files in your user account
Storing credits in your user account
Use of Printbox Windows programme
Use of Printbox Android app
USB flash drive login on Printbox kiosk

You can register on any Printbox kiosk by selecting “registered users” or “unregistered users” and by clicking “create printbox account”. Enter a valid email address and choose a password for your Printbox account. Then click “confirm” to confirm the data you have entered.

You can also register online.

If you already have a Printbox user account, select “registered users” and enter your user data.

You can login to your Printbox user account by entering your individual PIN number or by entering the email address that you used to create the Printbox account and your password.

Did you forget the password to your Printbox user account?

You can reset your password here or on a Printbox kiosk by selecting “registered users” and clicking on “reset password”.

Did you know?

You can also login to Printbox kiosk by using your USB flash drive.

Insert the USB flash drive into a Printbox kiosk and login. After a successful login, the Printbox kiosk will ask you whether you would like to connect your user account with this USB flash drive. Confirm the connection to complete the process.

In the future, you will no longer need to login by entering your data. Simply insert your USB flash drive and Printbox kiosk will recognize you. Convenient, isn’t it?

Uploading documents

Printbox allows you to upload and print various types of files for printing. During the process of preparation for printing the files are converted to PDF. To speed up the process and reduce the possibility of errors, we recommend that you upload documents in PDF format (if possible).

Uploading documents to Printbox is extremely easy and fast. Several options are available for registered users to upload documents:

  • USB flash drive
  • E-mail
  • Website at.printbox.net
  • Printbox Windows programme
  • Printbox Android mobile app
  • Printbox virtual library
  • Scanner

When printing as an unregistered user, files can only be uploaded from a USB flash drive, Printbox library and scanner.

Uploading documents from a USB flash drive

Insert the USB flash drive into the Printbox kiosk and select the option “USB flash drive” from the menu on the left. Select the file to be printed and click “add to print”. The file is uploaded to the print queue and is ready to print.

Uploading documents via e-mail

You can upload files to your Printbox account in the form of e-mail attachments by sending or forwarding an e-mail with an attachment to your unique Printbox e-mail account for uploading files. The e-mail address for uploading files to your user account is [your PIN]@print.printbox.net. Example: XJS7ID8LP@print.printbox.net. Anyone can use this e-mail address to send you a file to be printed from your Printbox user account.

Important!

The size of the e-mail message must not exceed 20 MB, otherwise the files will not be uploaded and queued for printing.

If you upload documents via e-mail, you can only upload documents via attachments. The uploading process may take several minutes, depending on the size of the attached files.

Where can you find your PIN number?

Upon registration, all registered users receive a unique PIN number. You can find it in the welcome e-mail received upon registration, and in the settings of your user account on the website at.printbox.net. If you are logged on at a Printbox kiosk, you can also find your PIN there by clicking “help”.

How to reset your PIN number?

You can reset your PIN number at at.printbox.net. Login to your Printbox user account and select “My account” and “reset PIN” from the menu on the left.

Uploading files via website

Open the website at.printbox.net. and login to your Printbox user account. The login option can be found in the top right-hand corner of the website. Select “add documents” from the menu on the left. Find and select a document on your computer and click “upload”.

Uploading documents by using Printbox tools

We have developed two tools for uploading files to your Printbox user account: Printbox Windows program and Printbox Android mobile application. Learn more about the tools and the upload of documents here.

Printbox Windows program

Printbox Android mobile application

Payment and price list

All support services of the Printbox system, such as scanning, archiving, file uploading, use of Printbox tools, etc. are completely free. You only pay for printing. You need Printbox kredits to print documents. You may purchase Printbox credits at any Printbox kiosk (with cash or by Moneta) or with online payment (bank transfer credit cards). The entire process is safe and fast. The price list of services is available in any Printbox kiosk by clicking on “price list” in the menu on the left. You can also take a look at the price list of Printbox services here. You can purchase Printbox credits:
  • with cash on Printbox kiosk,
  • with NFC devices/bank card on Printbox kiosk,
  • online at at.printbox.net

Important!

Printbox credit is a unit for payment of Printbox services. 1 Printbox credit = 1 colour or black-and-white A4 page. After you purchase Printbox credits, the amount of payment is converted into a corresponding quantity of Printbox credits, according to the applicable price list.

Purchasing Printbox credits by cash

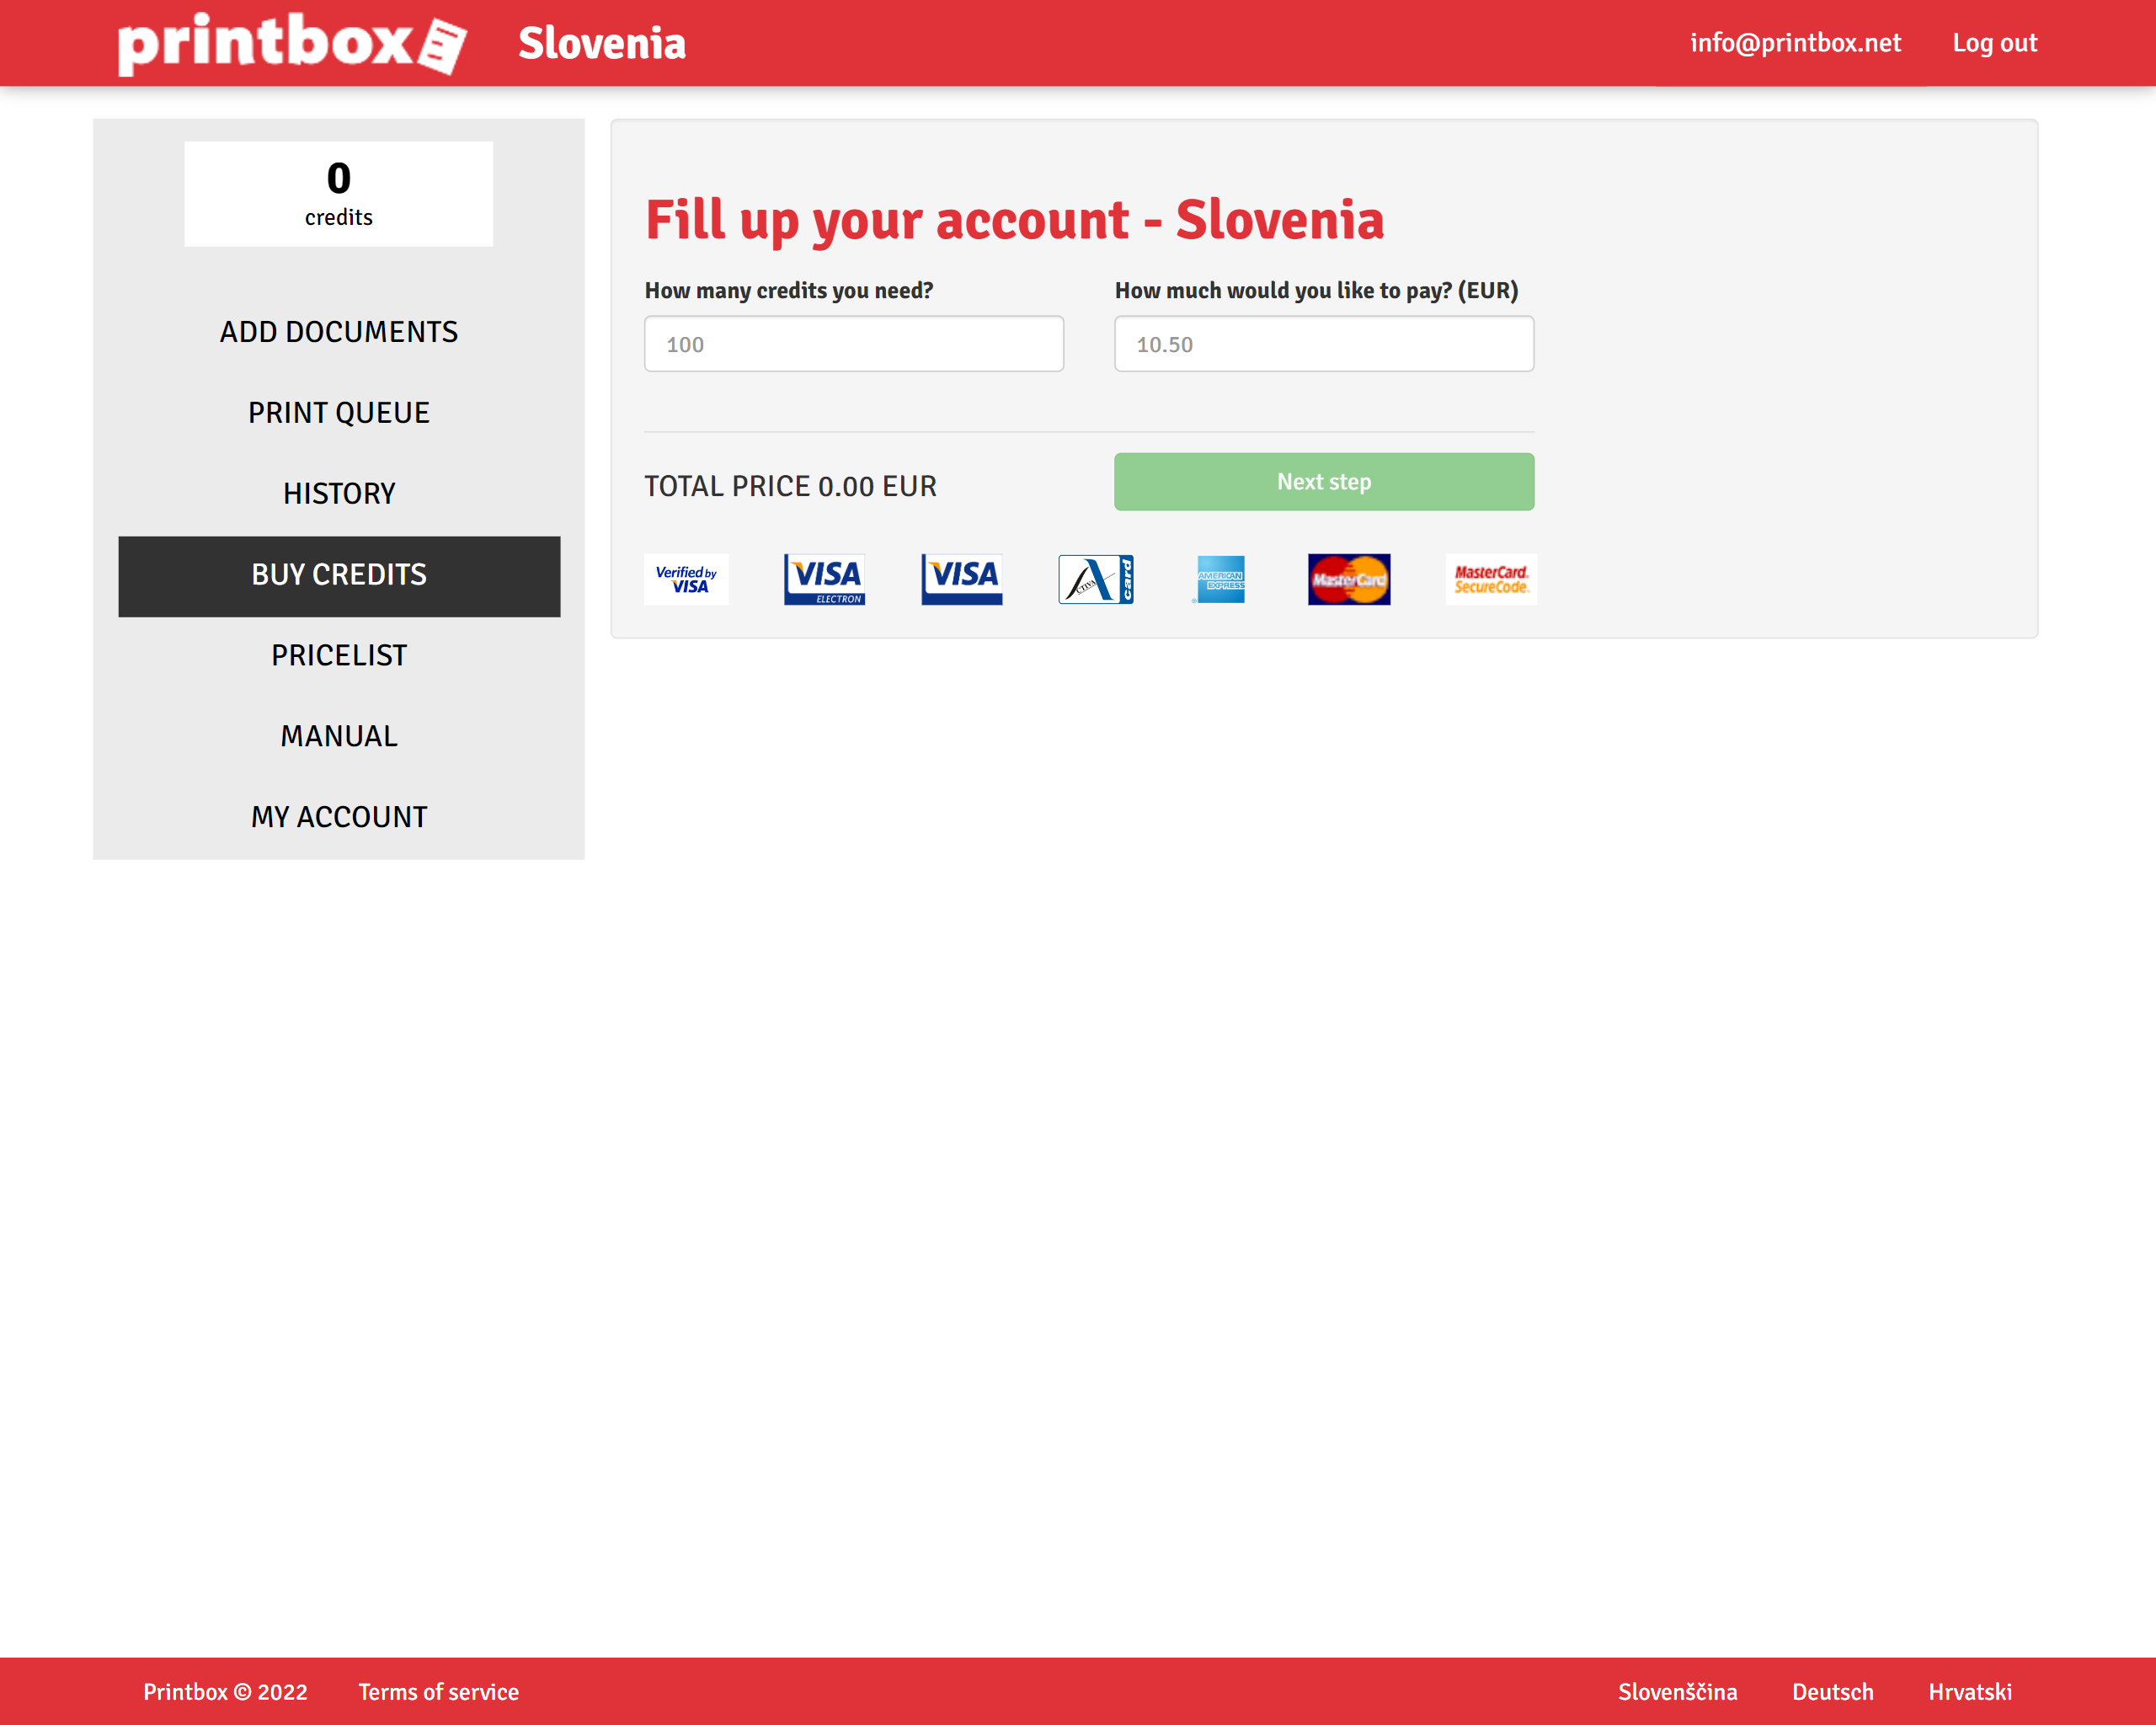
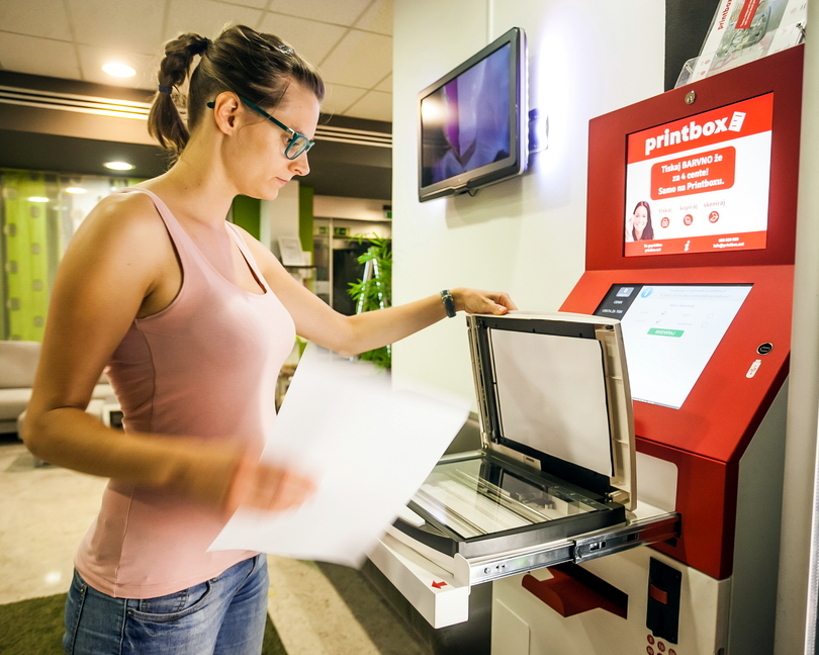
After signing in to your Printbox user account, you can pay in cash by inserting the money into the slots for coins or bank notes on Printbox kiosk. The system will automatically detect payment and will load the appropriate number of Printbox credits.

In order to get an additional discount or lower price of printing credit when making higher payments, the entire payment has to be made within the same session or login. Unused printing credits are saved as credit in your user account. You can use them any time in any Printbox kiosk.

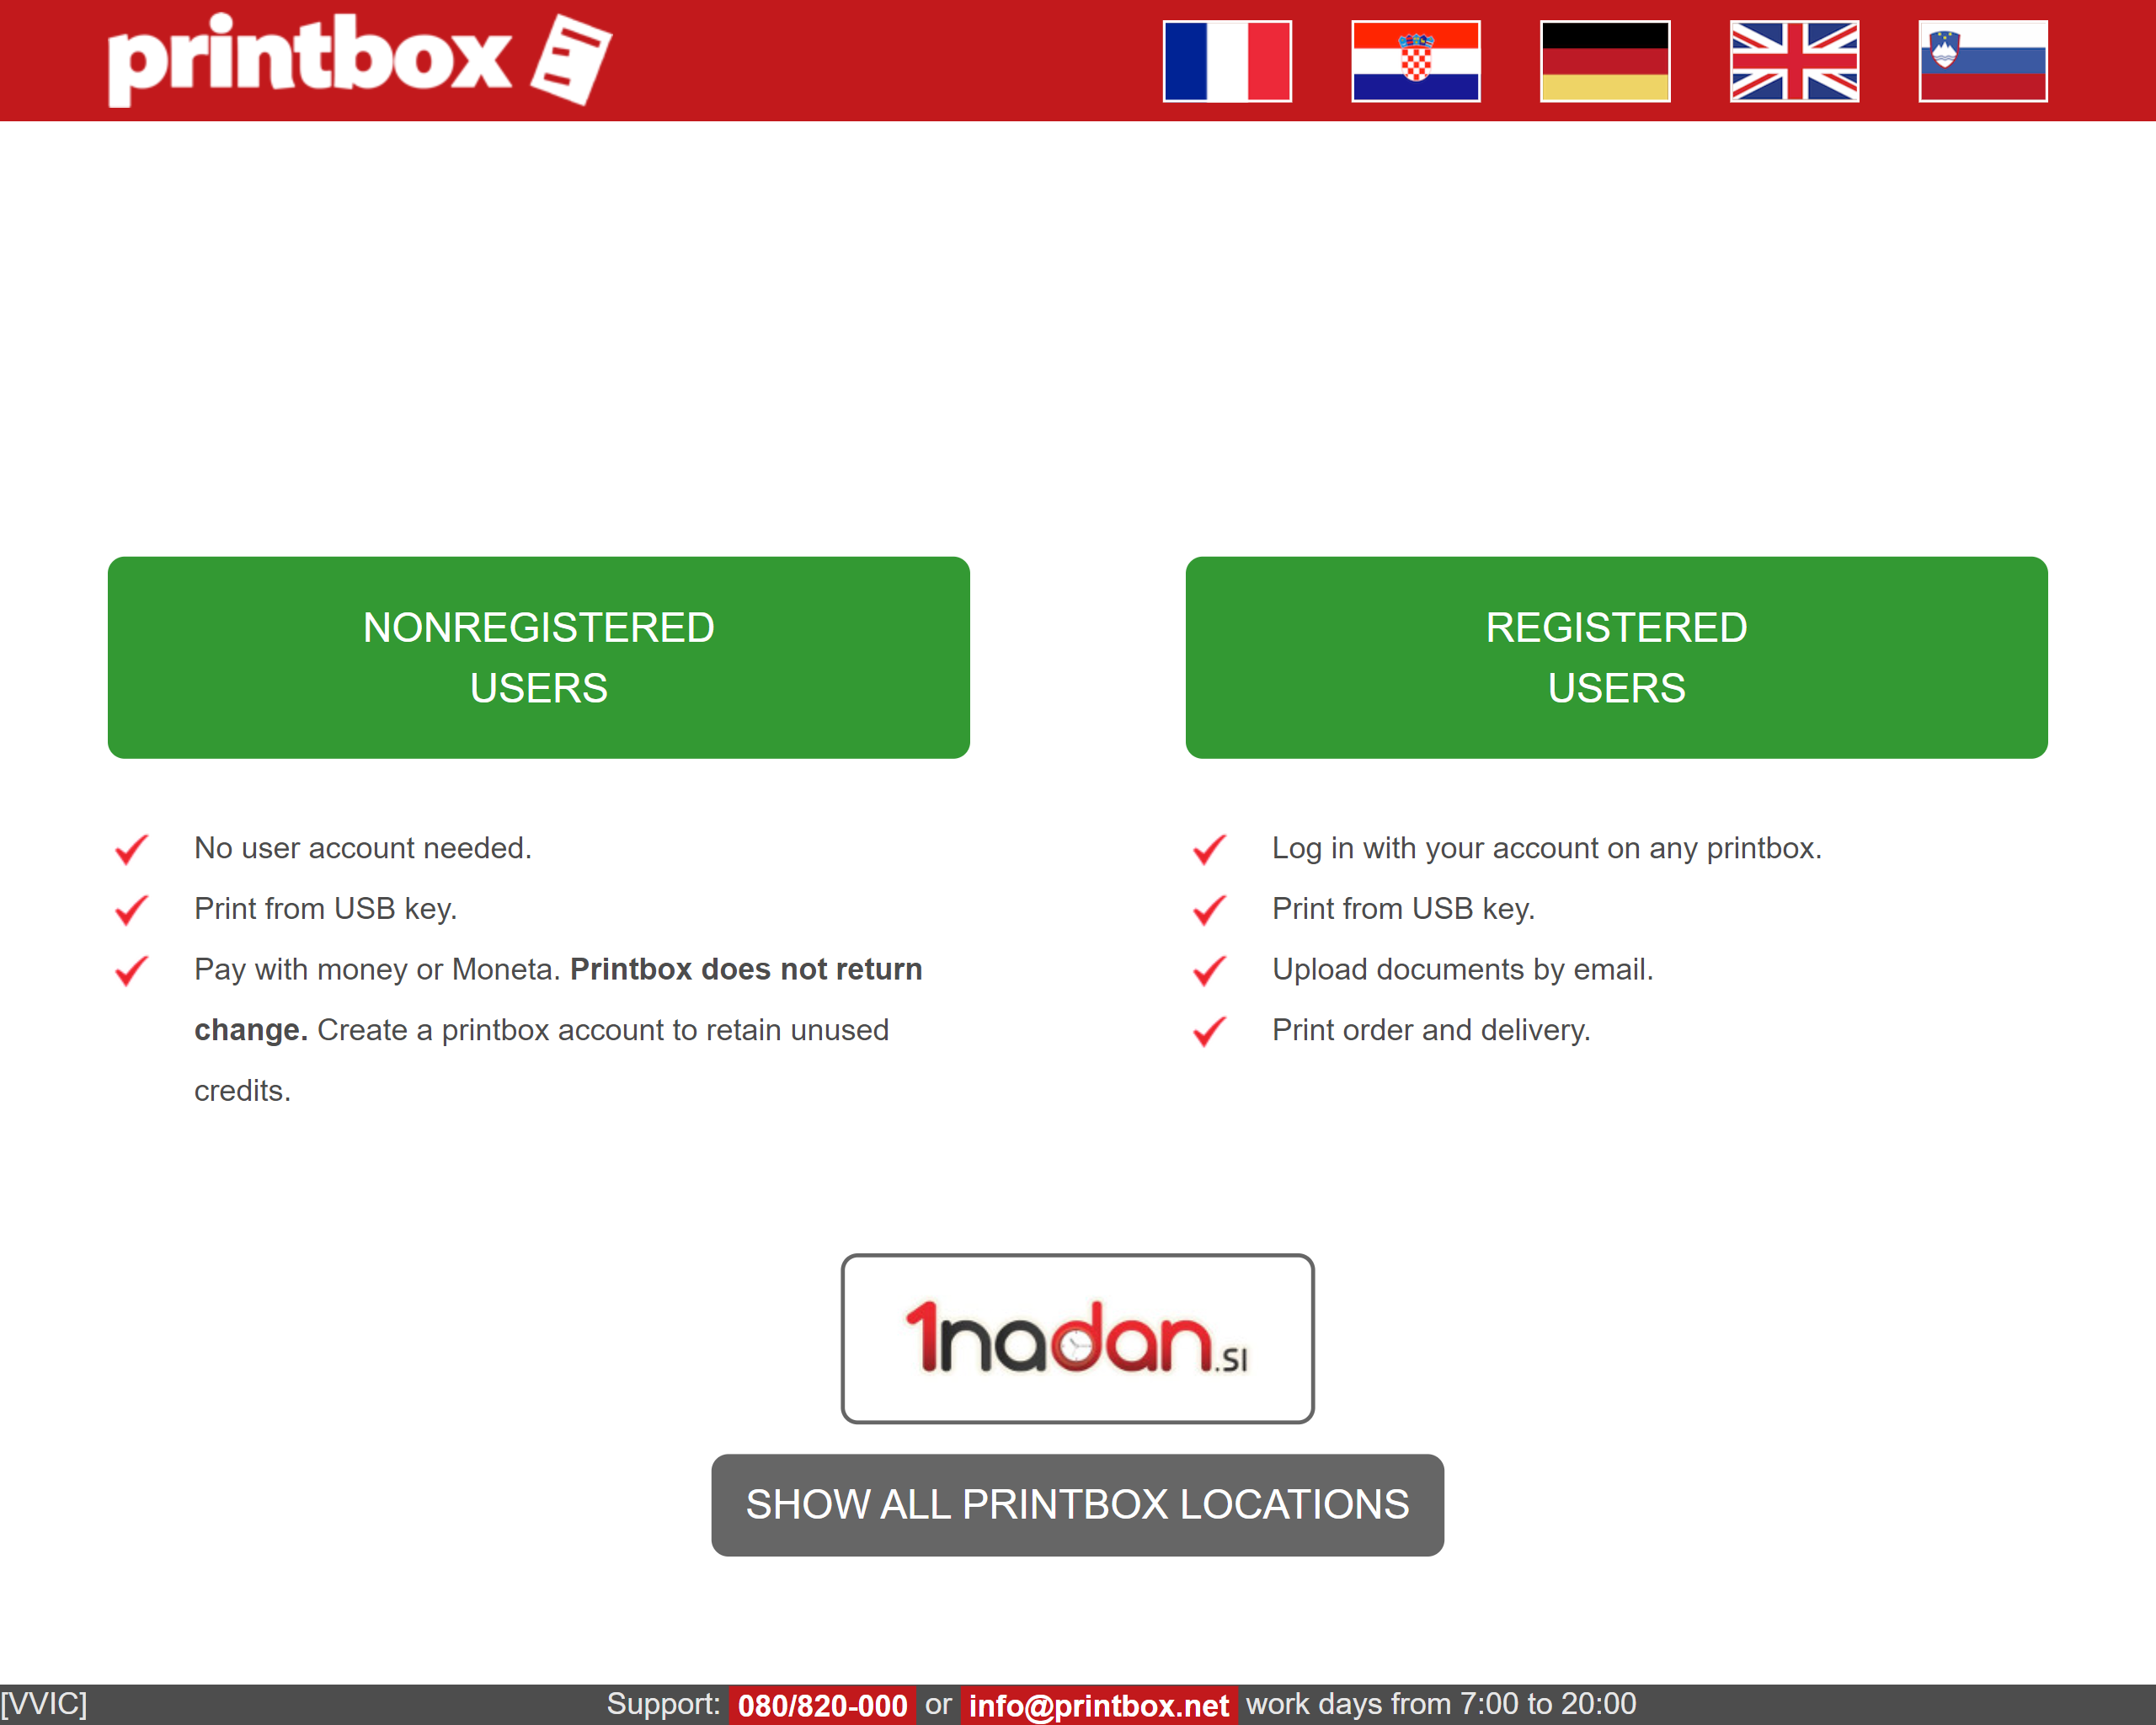
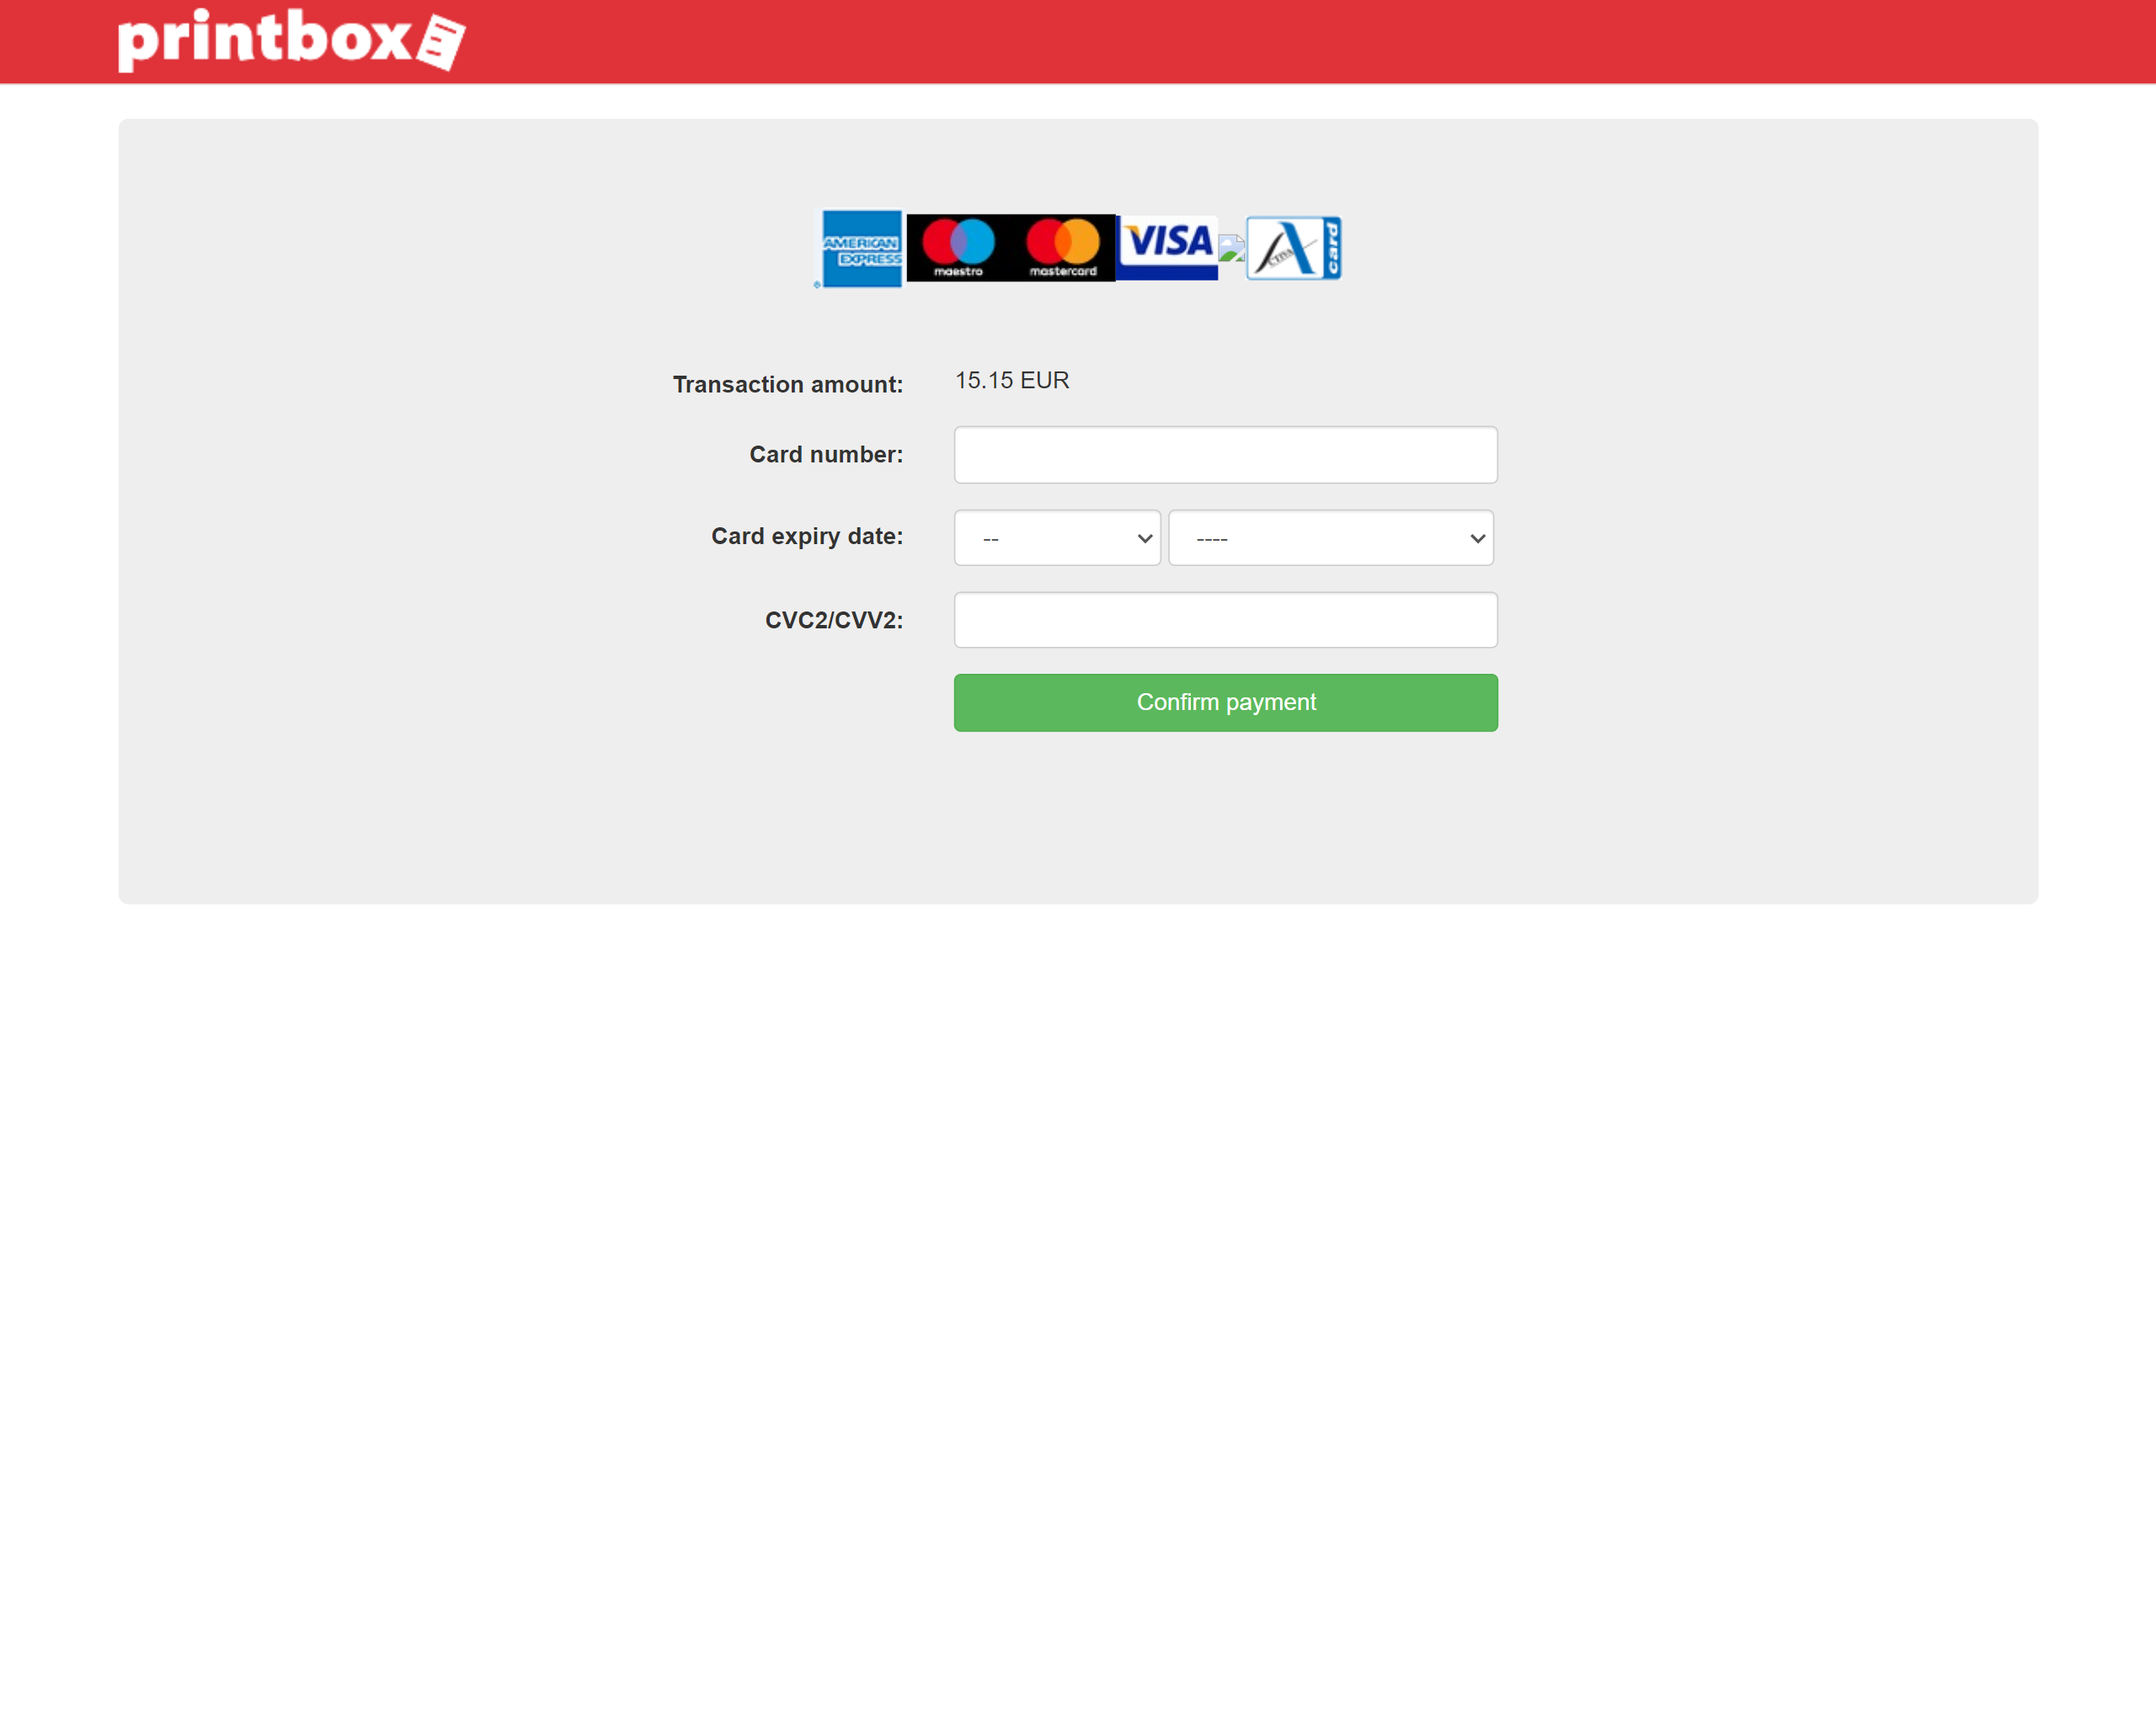
Unregistered users select the option “unregistered users” and use cash or Moneta to purchase the appropriate number of credits. Printbox does not return change, therefore it is necessary to use all the credits purchased. When using Printbox as an unregistered user, unused credits will not be saved.

Printbox kiosk accepts banknotes of 5 €, 10 € and 20 €, and coins of 0.05 €, 0.10 €, 0.20 €, 0.5 €, 1 € and 2 €.

Printbox does not return change!

It is recommended to use a Printbox user account, where the credits are stored and can be used later, or to pay the exact amount of money for printing.

  • The purchased credit is stored in your Printbox user account.
  • The credit from your user account can be used anytime at any Printbox kiosk in Slovenia.

Online Purchase of Printbox credits

Purchase of Printbox credits with credit cards can be done only at web site sl.printbox.net. Sign into your Printbox account ant choose BUY CREDITS within left menu. Click on »Credit card payment« to start with step one where you insert the number of needed Printbox credits or amount of payment. In case you insert number of needed Printbox credits the sysyem will automatically display purchase amount. In case you insert amount of purchase the system will automatically display the number of Printbox credits for particular purchase amount.

In the next step you need to insert details of your credit card (valid card number, expiration date and CVC code) and click on »Pay with your card« to confirm purchase. You may review your online purchase and history of all your payment history in BUY CREDITS menu.

What you need to know about purchasing with credit cards:

  • The service is available only to registered Printbox users.
  • Online purchase can be done by credit cards Visa, MasteCard, Discover and American Express.
  • The minimum purchase amount is 1,00 EUR or 2 Printbox credits.
  • Printbox credits will be immediately loaded to your Printbox user account after the payment.

Purchasing Printbox credits by bank transfer

Transfer the desired amount of purchase to our bank account (minimum amount is 10€). After the transfer has been carried out, send us a proof of payment to info-at@printbox.net. Make sure you state the data of the user account for which the Printbox printing credit was purchased.

Our business account:

Bank: Erstebank
BIC code: GIBAATWWXXX
IBAN: AT78 2011 1840 8369 4100

If you wish to receive an invoice for the Printbox printing credits that you have purchased, send us an e-mail to info-at@printbox.net with the following information.

  • User account
  • Amount of payment
  • Place of payment
  • Approximate time of payment
  • Company information (in the case of a legal entity)
  • E-mail address to which the invoice is to be sent

After successful verification of payment, the invoice will be sent to the specified e-mail address.

Printing

Printing of documents in Printbox kiosk is always carried out from the “print queue”. After uploading the documents to print queue, you can print them by selecting the option “print”. If you want to manage additional settings, the following options will be displayed in Printbox kiosk when you click “more”:

  • Print certain pages.
  • Print multiple copies of the same file.
  • Print multiple pages on one sheet.
  • Select faster or better quality print.
  • Single-sided or double-sided printing (when printing on both sides, you can flip pages on short or long edge).
  • Remove file.
  • File preview.
  • Order printing.

Scanning

Pull out the scanner tray and place the document that you want to scan on the scanner. You can use the flatbed under the scanner cover or the automatic feeder on the top of the cover which enables double-sided scanning.

Flatbed scanning

Place the document that you want to scan (a book, sheet of paper, card) on the flatbed, facing downwards. The document has to be aligned with the upper left edged of the flatbed and oriented to the left. Flatbed scanning creates individual PDF files which are not combined in a single document and double-sided printing is therefore not possible.

Automatic feeder scanning

Place a set of individual sheets of paper (up to 40 sheets) into the automatic feeder, facing downwards.

In the left-hand side menu on the Printbox kiosk screen select “scanning”. Select black-and-white or colour scanning and single-sided or double-sided scanning and then select “scan”. When the scanning process is completed and the document is ready, add it to the print queue by clicking “add to print”.

Warning!

After the scanning process is complete, make sure you add the scanned document to the print queue, otherwise the document will be deleted when you sign out. With this step you save the document into your Printbox user account and it is ready for printing. Unregistered users cannot save scanned documents.

Saving scanned documents into USB key

At first add your scanned document into Print queue of your Printbox account. Choose MORE and than choose USB at the bottom. Once your document is successfully saved into your USB key confirmation message will be shown on the top of the screen. Please plug your USB key into USB input before choosing USB option.

Saving scanned document into your USB key is free of charge.

Warning!

In case USB key have writing protection or lack of empty space you will not be able to successfully save scanned documents into USB key.

Sending scanned documents via email

At first add your scanned document into Print queue of your Printbox account. Choose MORE and than choose EMAIL at the bottom.

By choosing E-MAIL your selected document will be sent via email. You will receive message with download link at your email address that you registered with into Printbox system. To download your scanned documents clik on Download.

Sending scanned documents via email is free of charge.

Customer service helpdesk

The helpdesk is available Monday to Friday between 07:00 and 20:00.

en_GB

label

address

description